Building a banjo, part 1: intro, tools, and materials
I prepared this document specifically for two students who are interested in building banjos. If you found your way here, feel free to reach out at chris.witulski@gmail.com with any questions, comments, or (more likely) suggestions. I’ve built a handful of these and I’m happy with how they came out. I hope that this can be helpful for anyone who is interested in giving banjo building a try.
This process comes out of many late nights of reading the extraordinarily helpful building and repair forums at banjohangout.com. I also drew heavily on other sites that I link to below. The influence of the folks at the BGSU School of Art wood shop who invited me in and taught me the little bit that I know about woodworking, cannot be overstated!
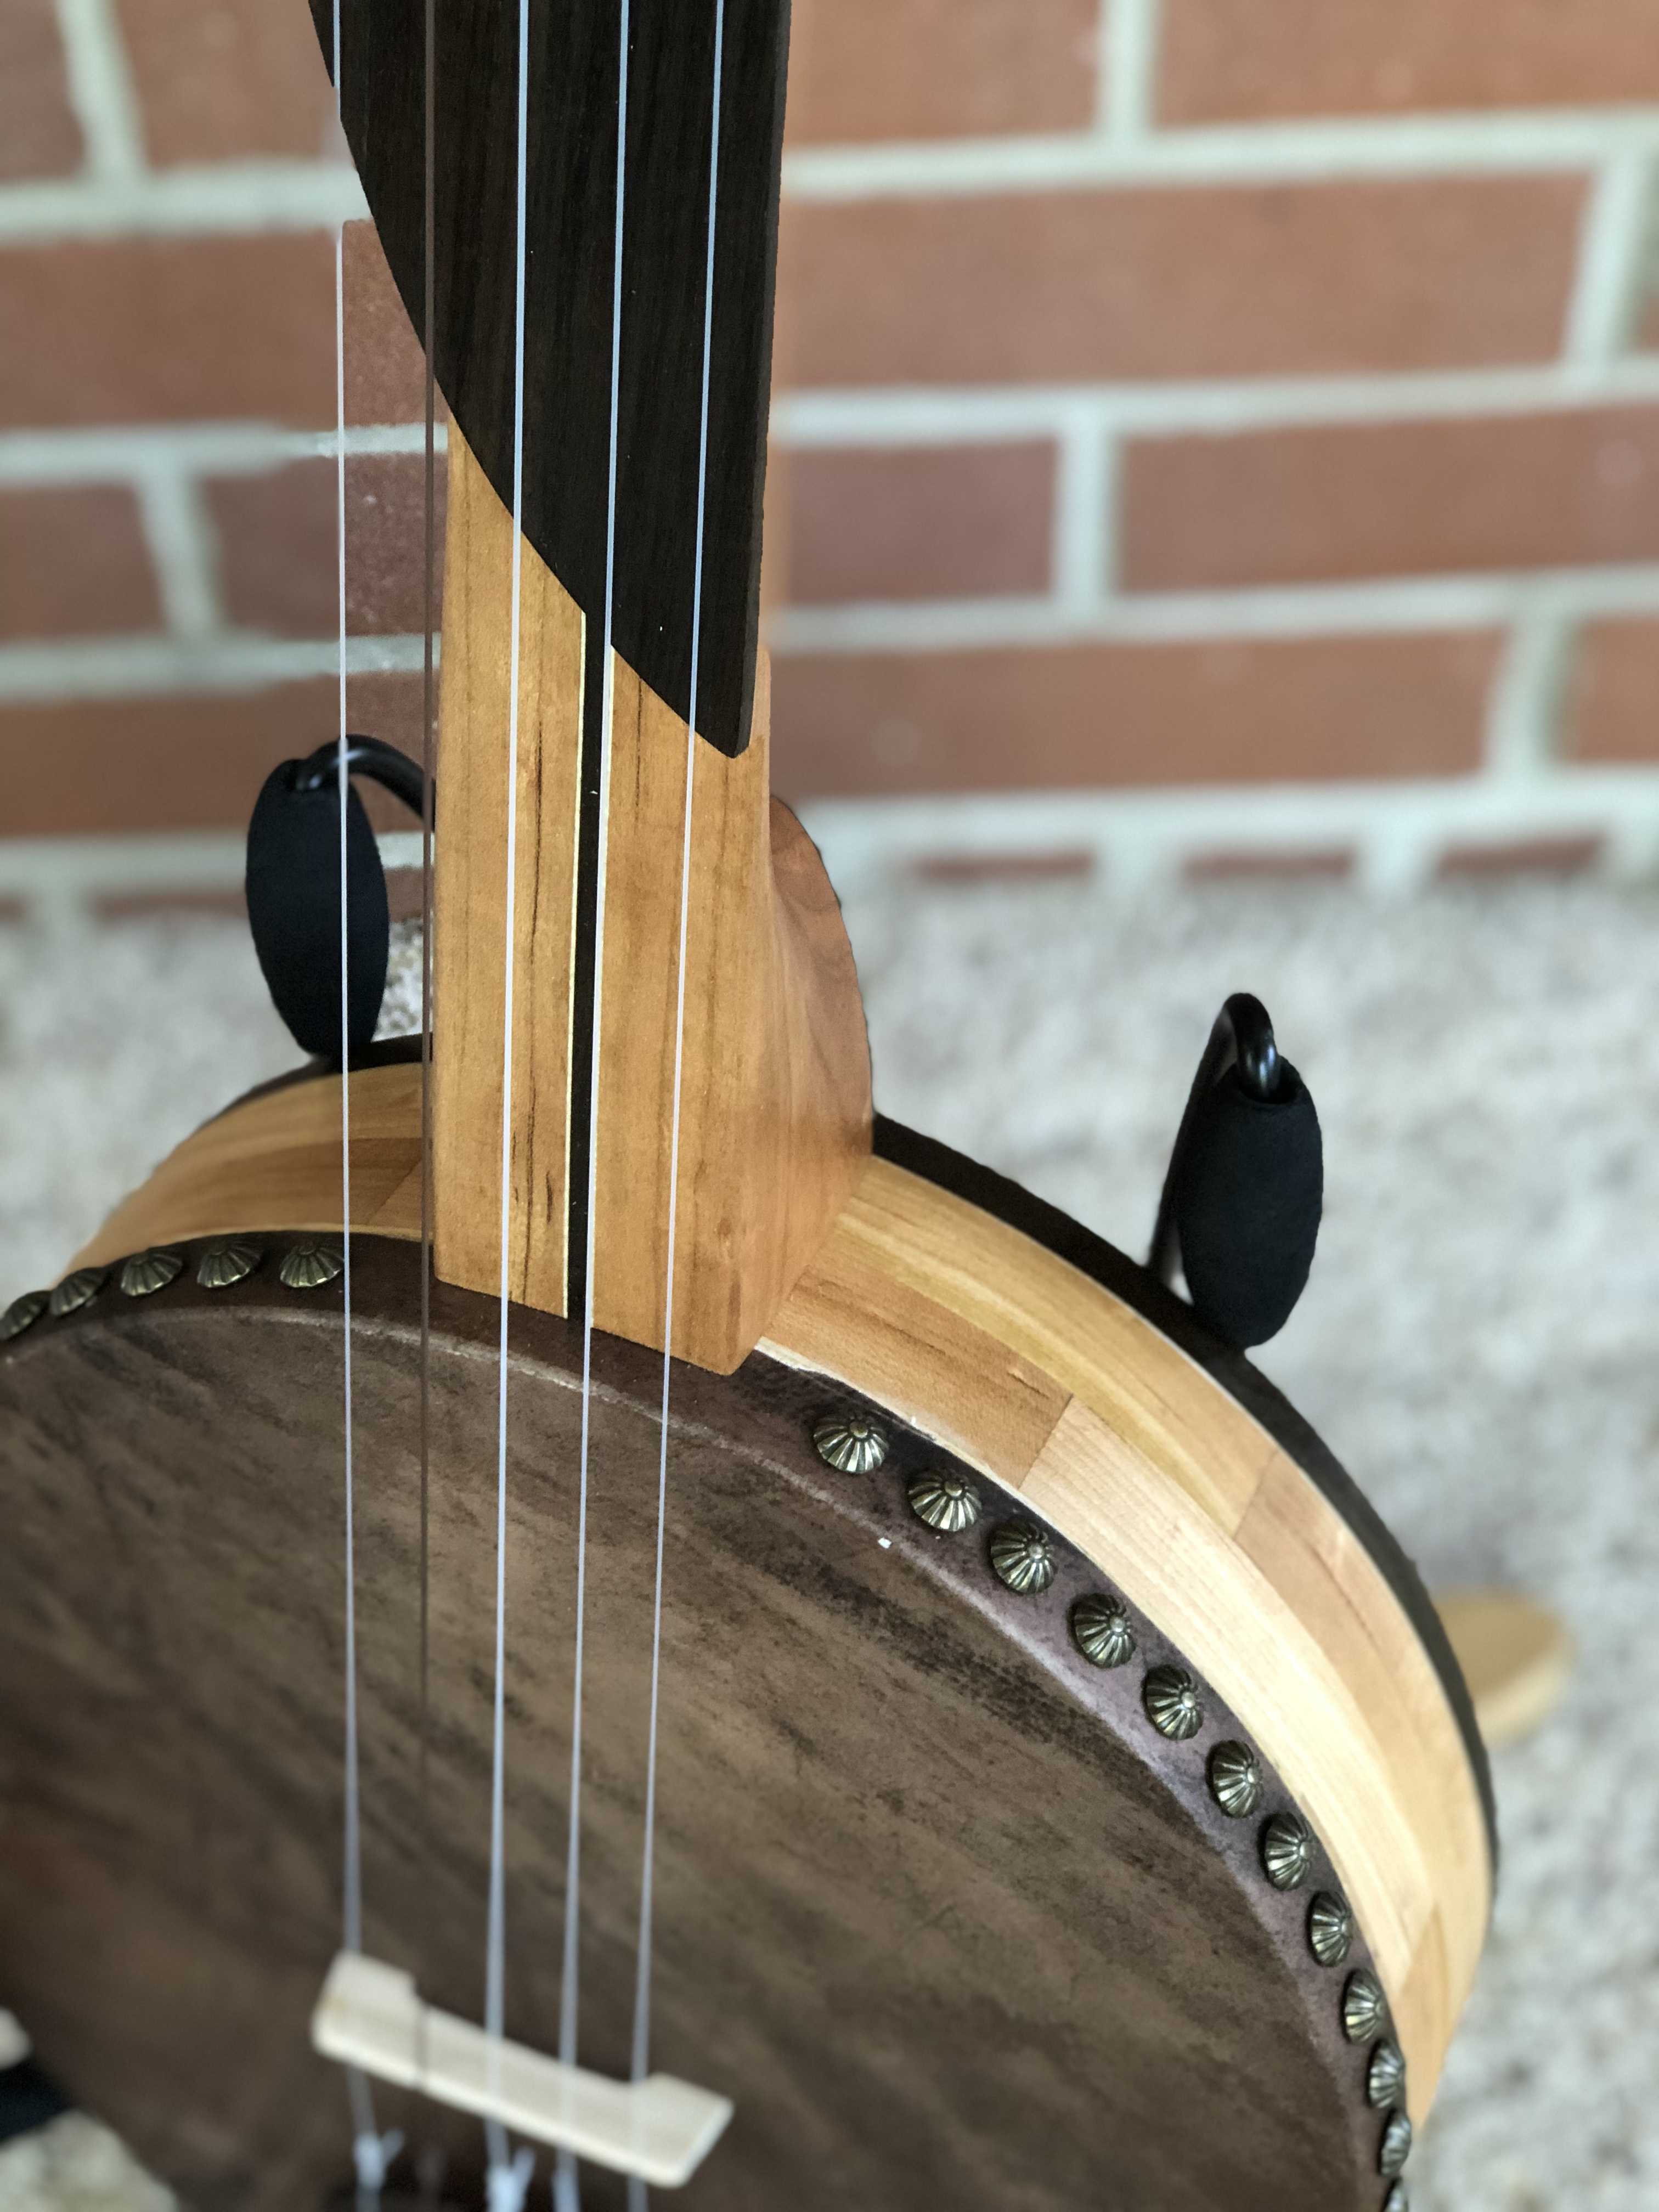
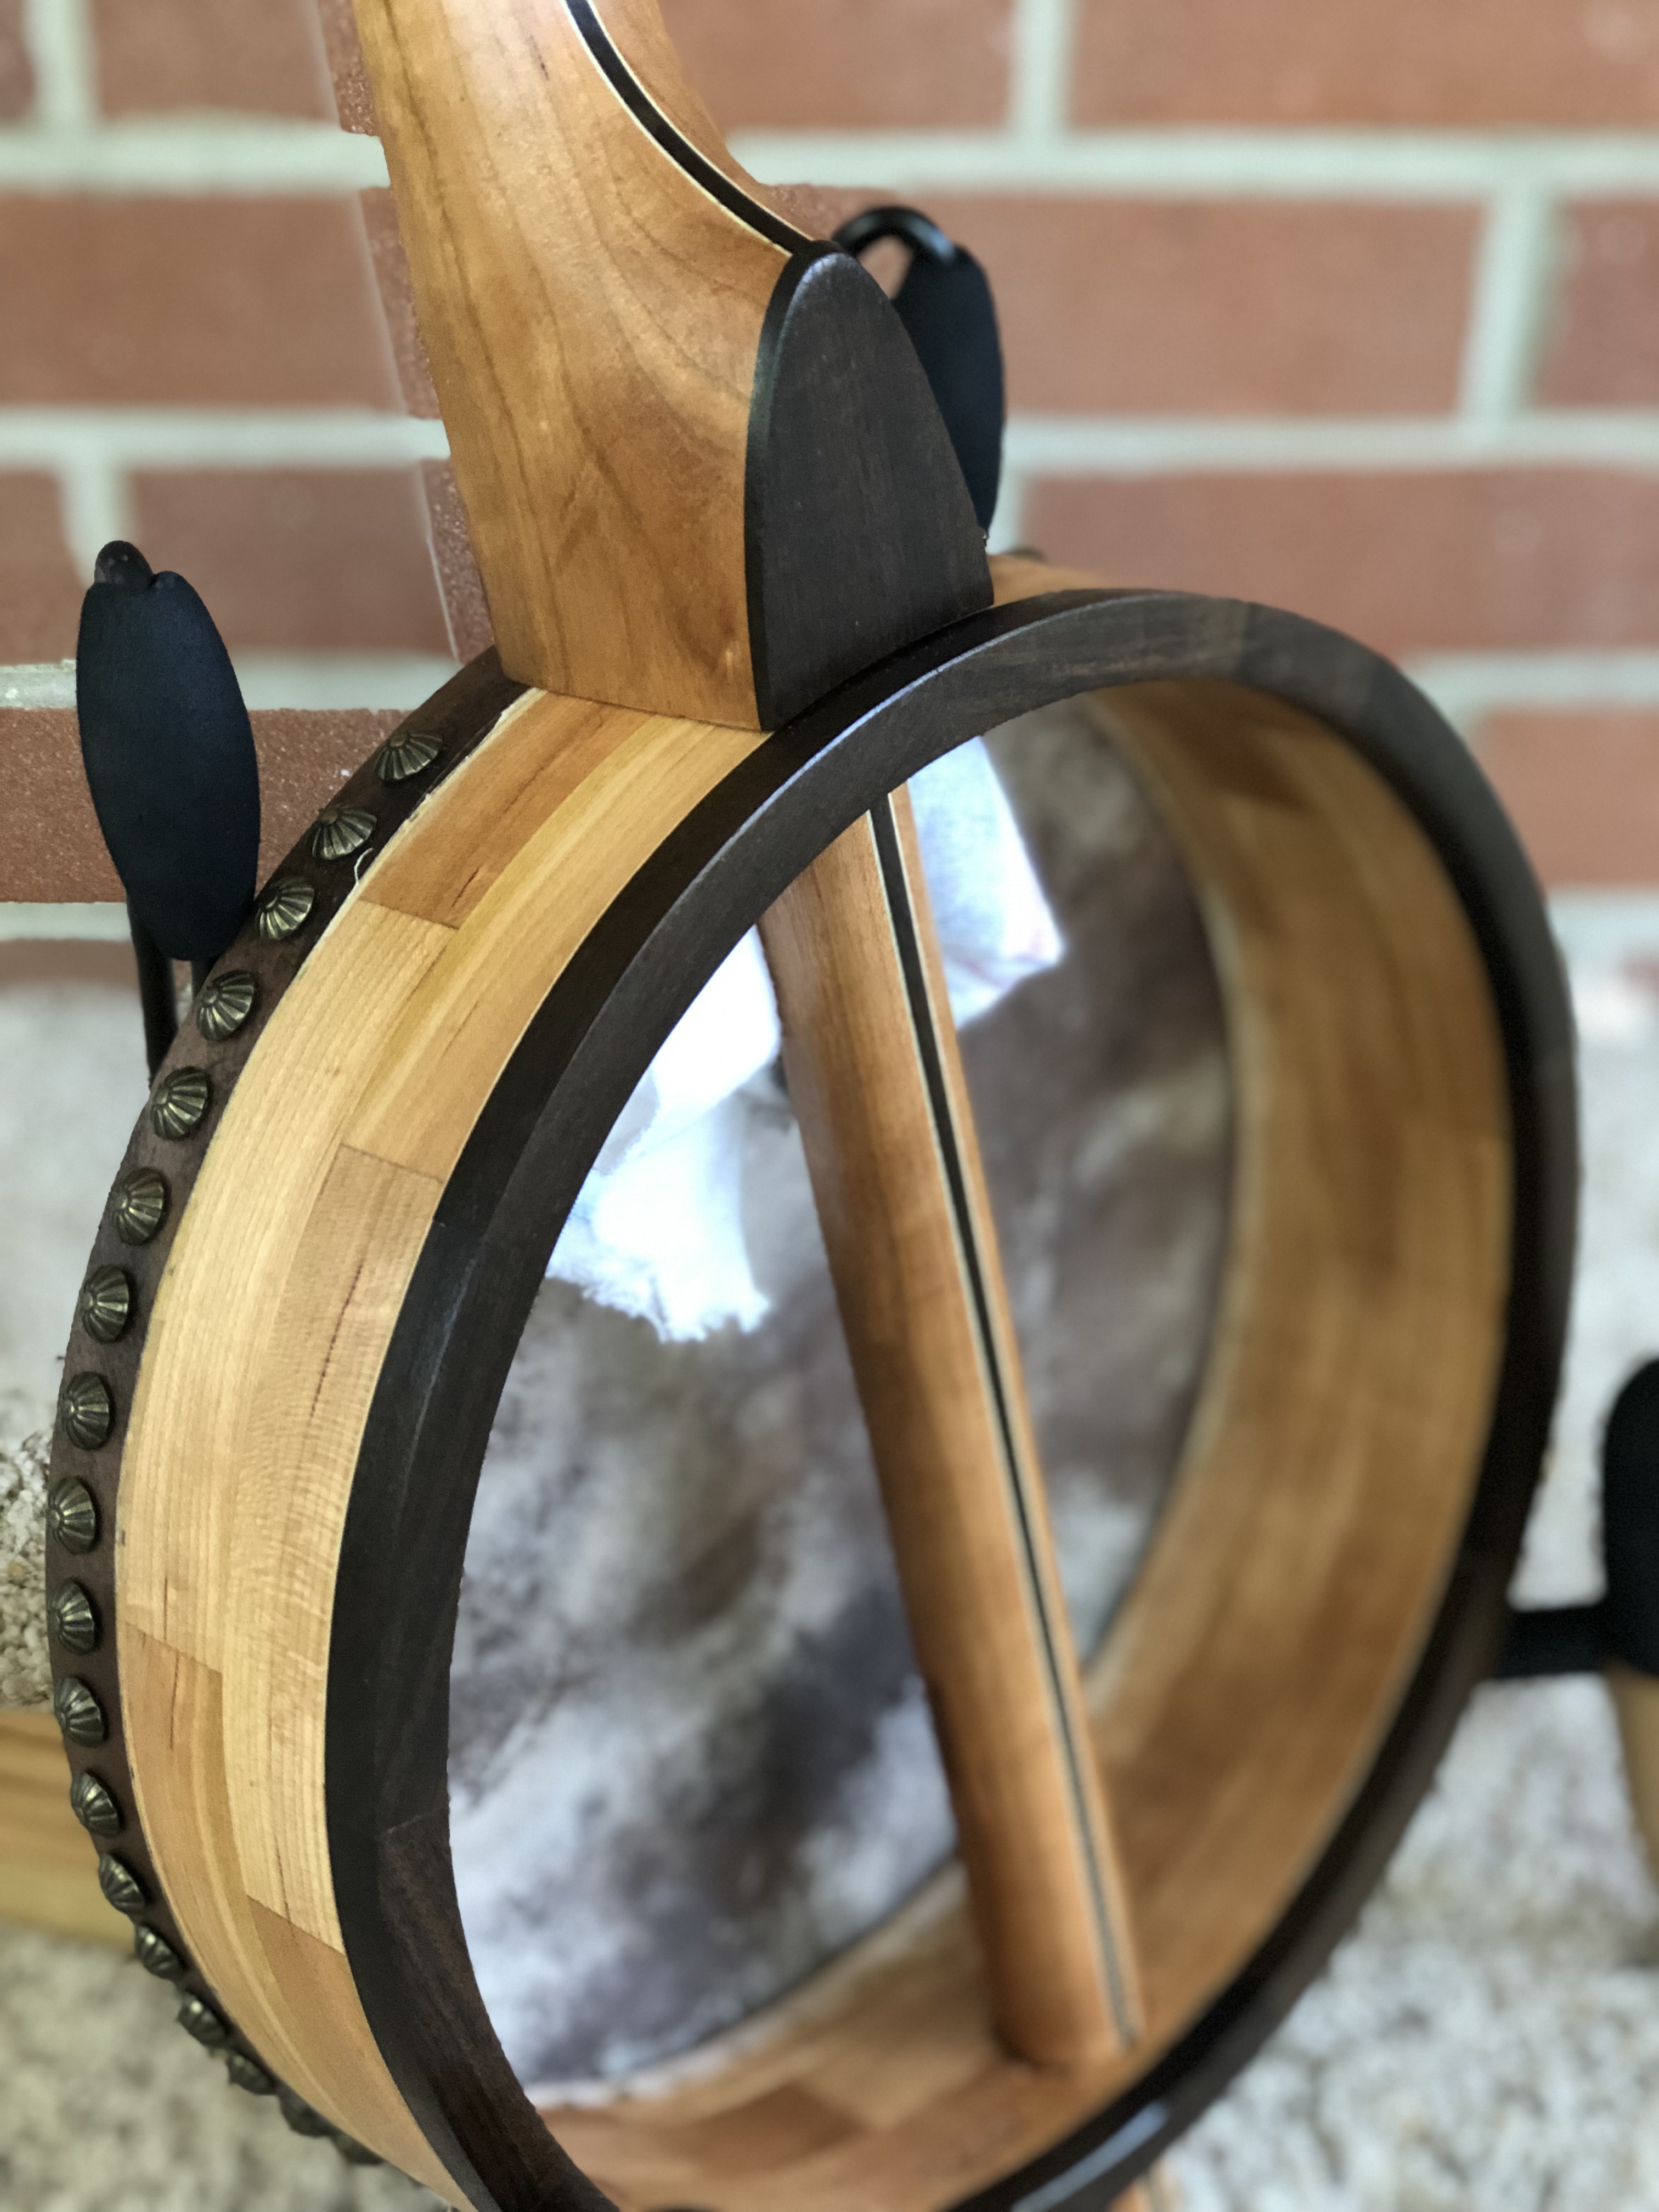
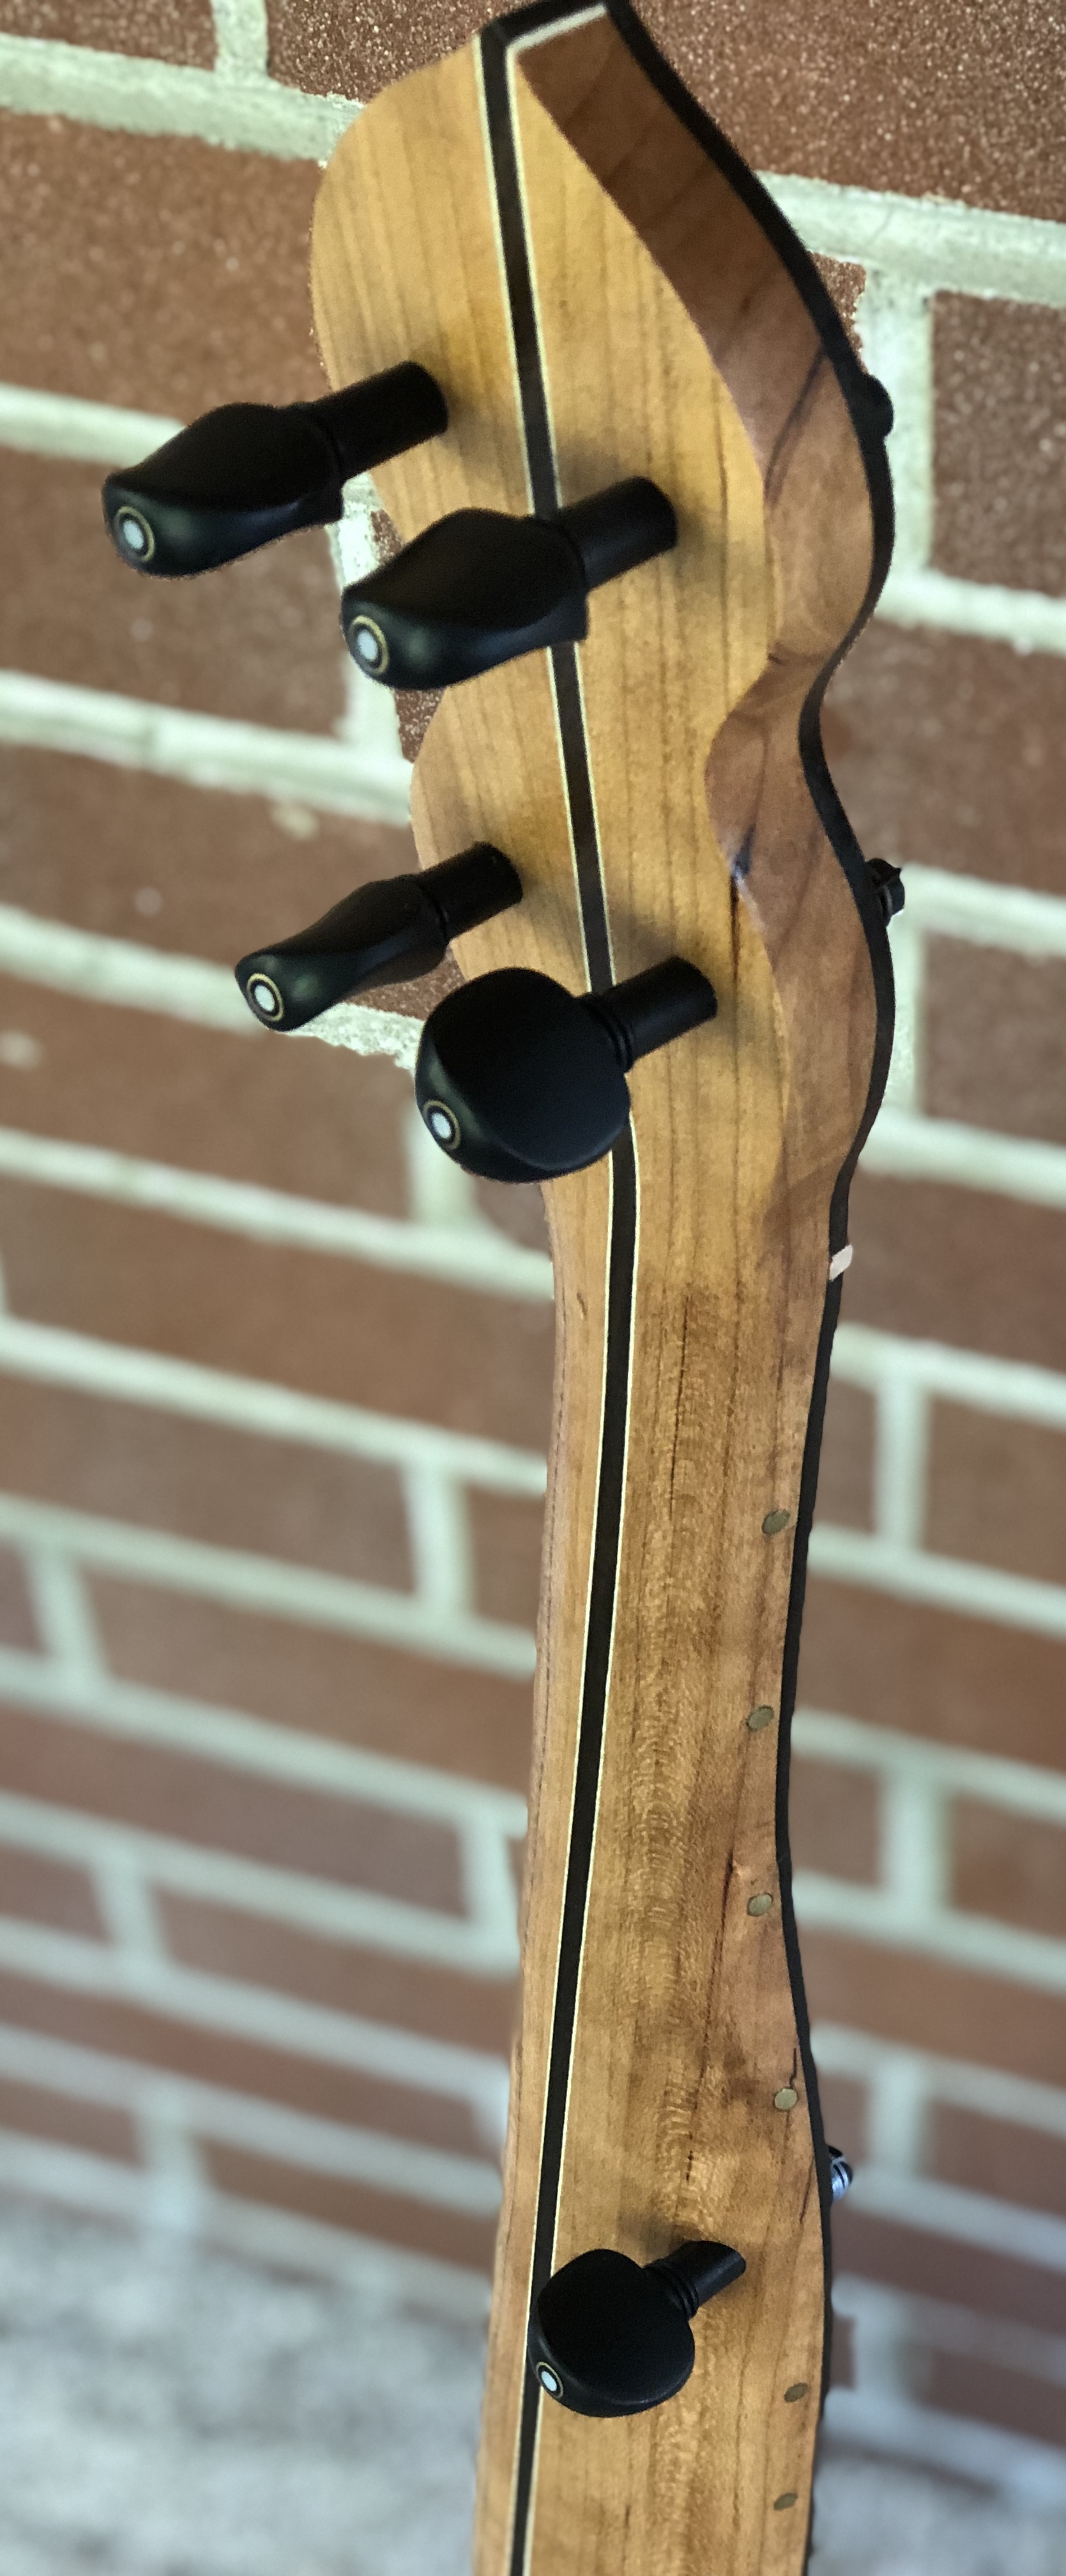
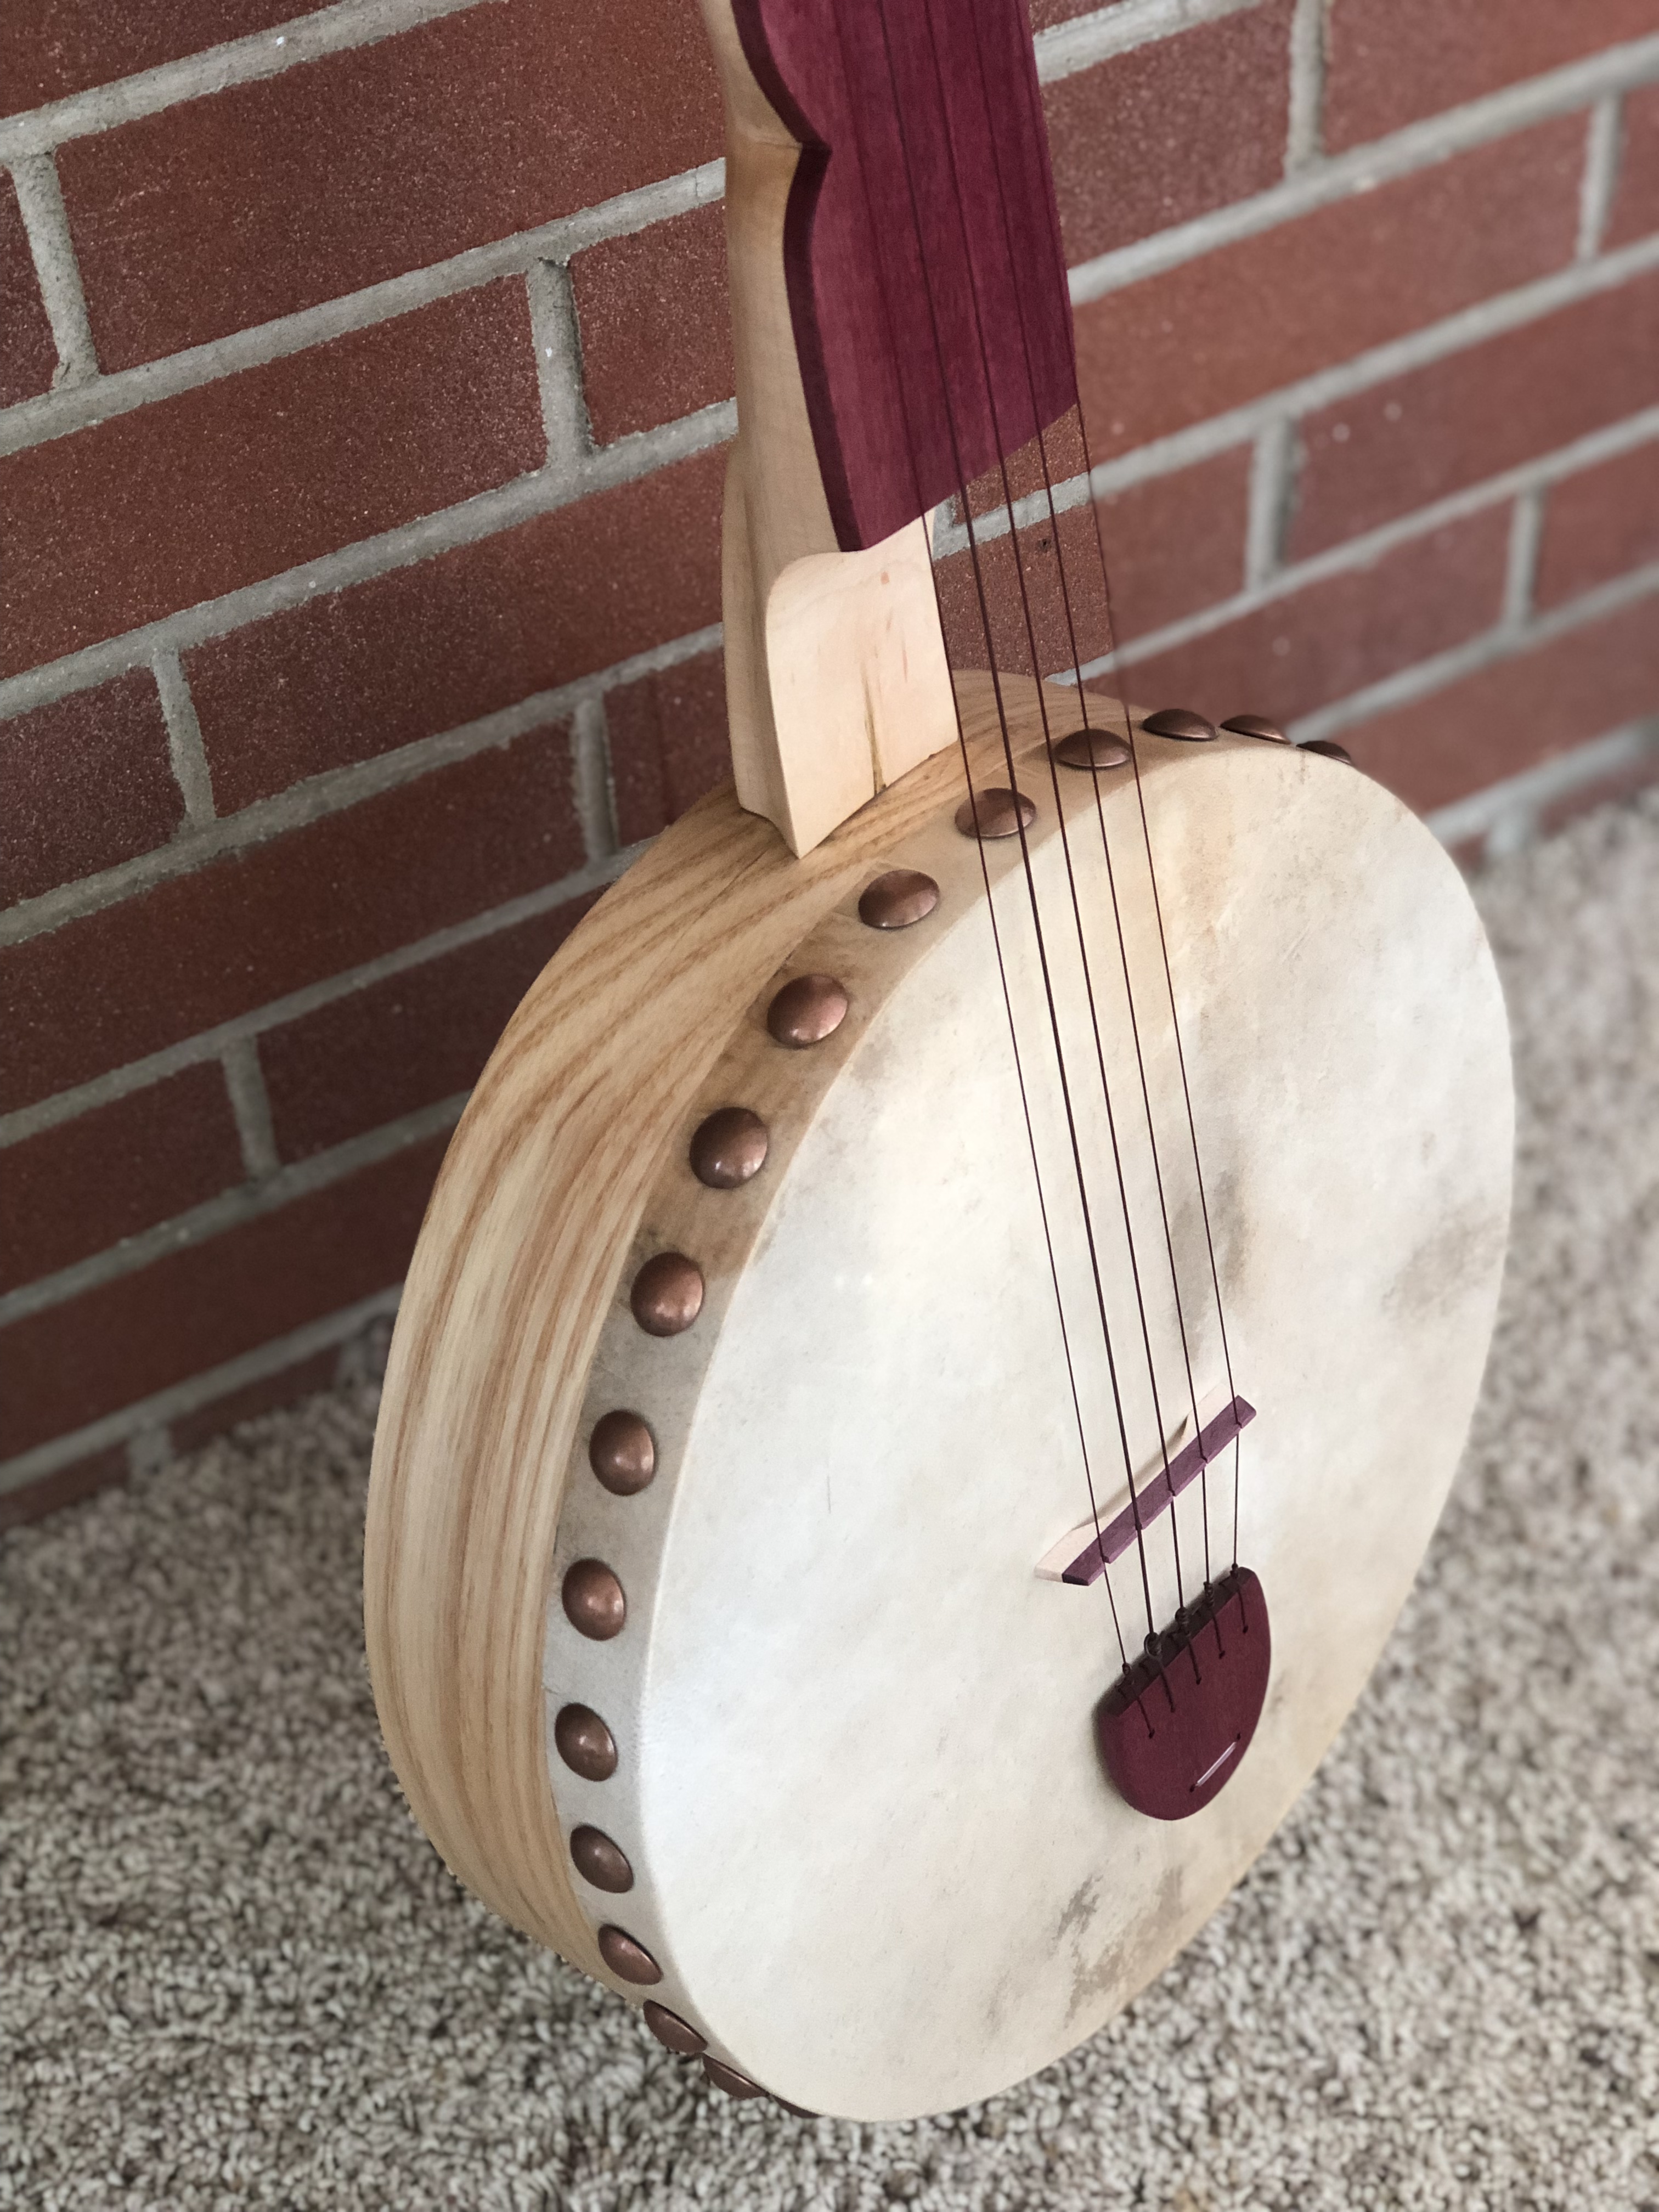
I’m not someone who comes from a background in woodworking. My first banjo was my first building project. But I like how they have come out so far and am happy to share, in case there are others who are coming from a blank slate as far as cutting wood goes. For what it’s worth, here are some photos from two recent builds. The first is cherry and ipe and the second is Ambrosia maple and purpleheart. Click for larger images.


Tools and Materials
I had a few goals in building an instrument when I first did it in 2018.
- This should be cheaper than buying one.
- Since people have been building banjos for longer than power tools have been around, I should be able to do it without buying a bunch of stuff.
With that in mind, here is a rough list of necessary tools and materials. I’ll give some other useful alternatives below, in case you have access to them.
When I did this the first time, I didn’t have much in the way of tools. Just a drill and some similarly basic things. Being cheap, I went to Harbor Freight and bought a handful of things that looked useful. Harbor Freight being what it is, they were hardly useful, but they got the job done. It’s been a pleasure replacing those things one by one. This is to say, you can get by with super cheap tools on softer wood. They don’t make the work any easier and certainly don’t make it any more pleasurable.
I’ve since learned more about hand tools (this is a good read) and have been replacing things one by one with older tools. These are still pretty cheap and I’m pretty sure I would have started this way had I known about it as an option. This guy has some really great stuff and it’s worth keeping an eye on his listings. The other advice: don’t bother with sets of things. Spend the same amount and get the one that you need, but of a higher quality. Most of these are things that I’ve since used in everyday life. They’re good to have around.
Useful power tools
- Mitre saw, chop saw, or radial arm saw: This will help you when you’re cutting blocks for the rim and for smaller tasks elsewhere.
- Band saw, circular saw, or panel saw: You need something to make the big cuts. Access to a band saw is best.
- Drill: for starting your peg holes
- Router: This can be useful for a fingerboard scoop, but there are other ways to do that, too. I did the scoop on the cherry banjo above with a router (I wanted that flat bottom) and cut out the deep scoop on the other one by hand.
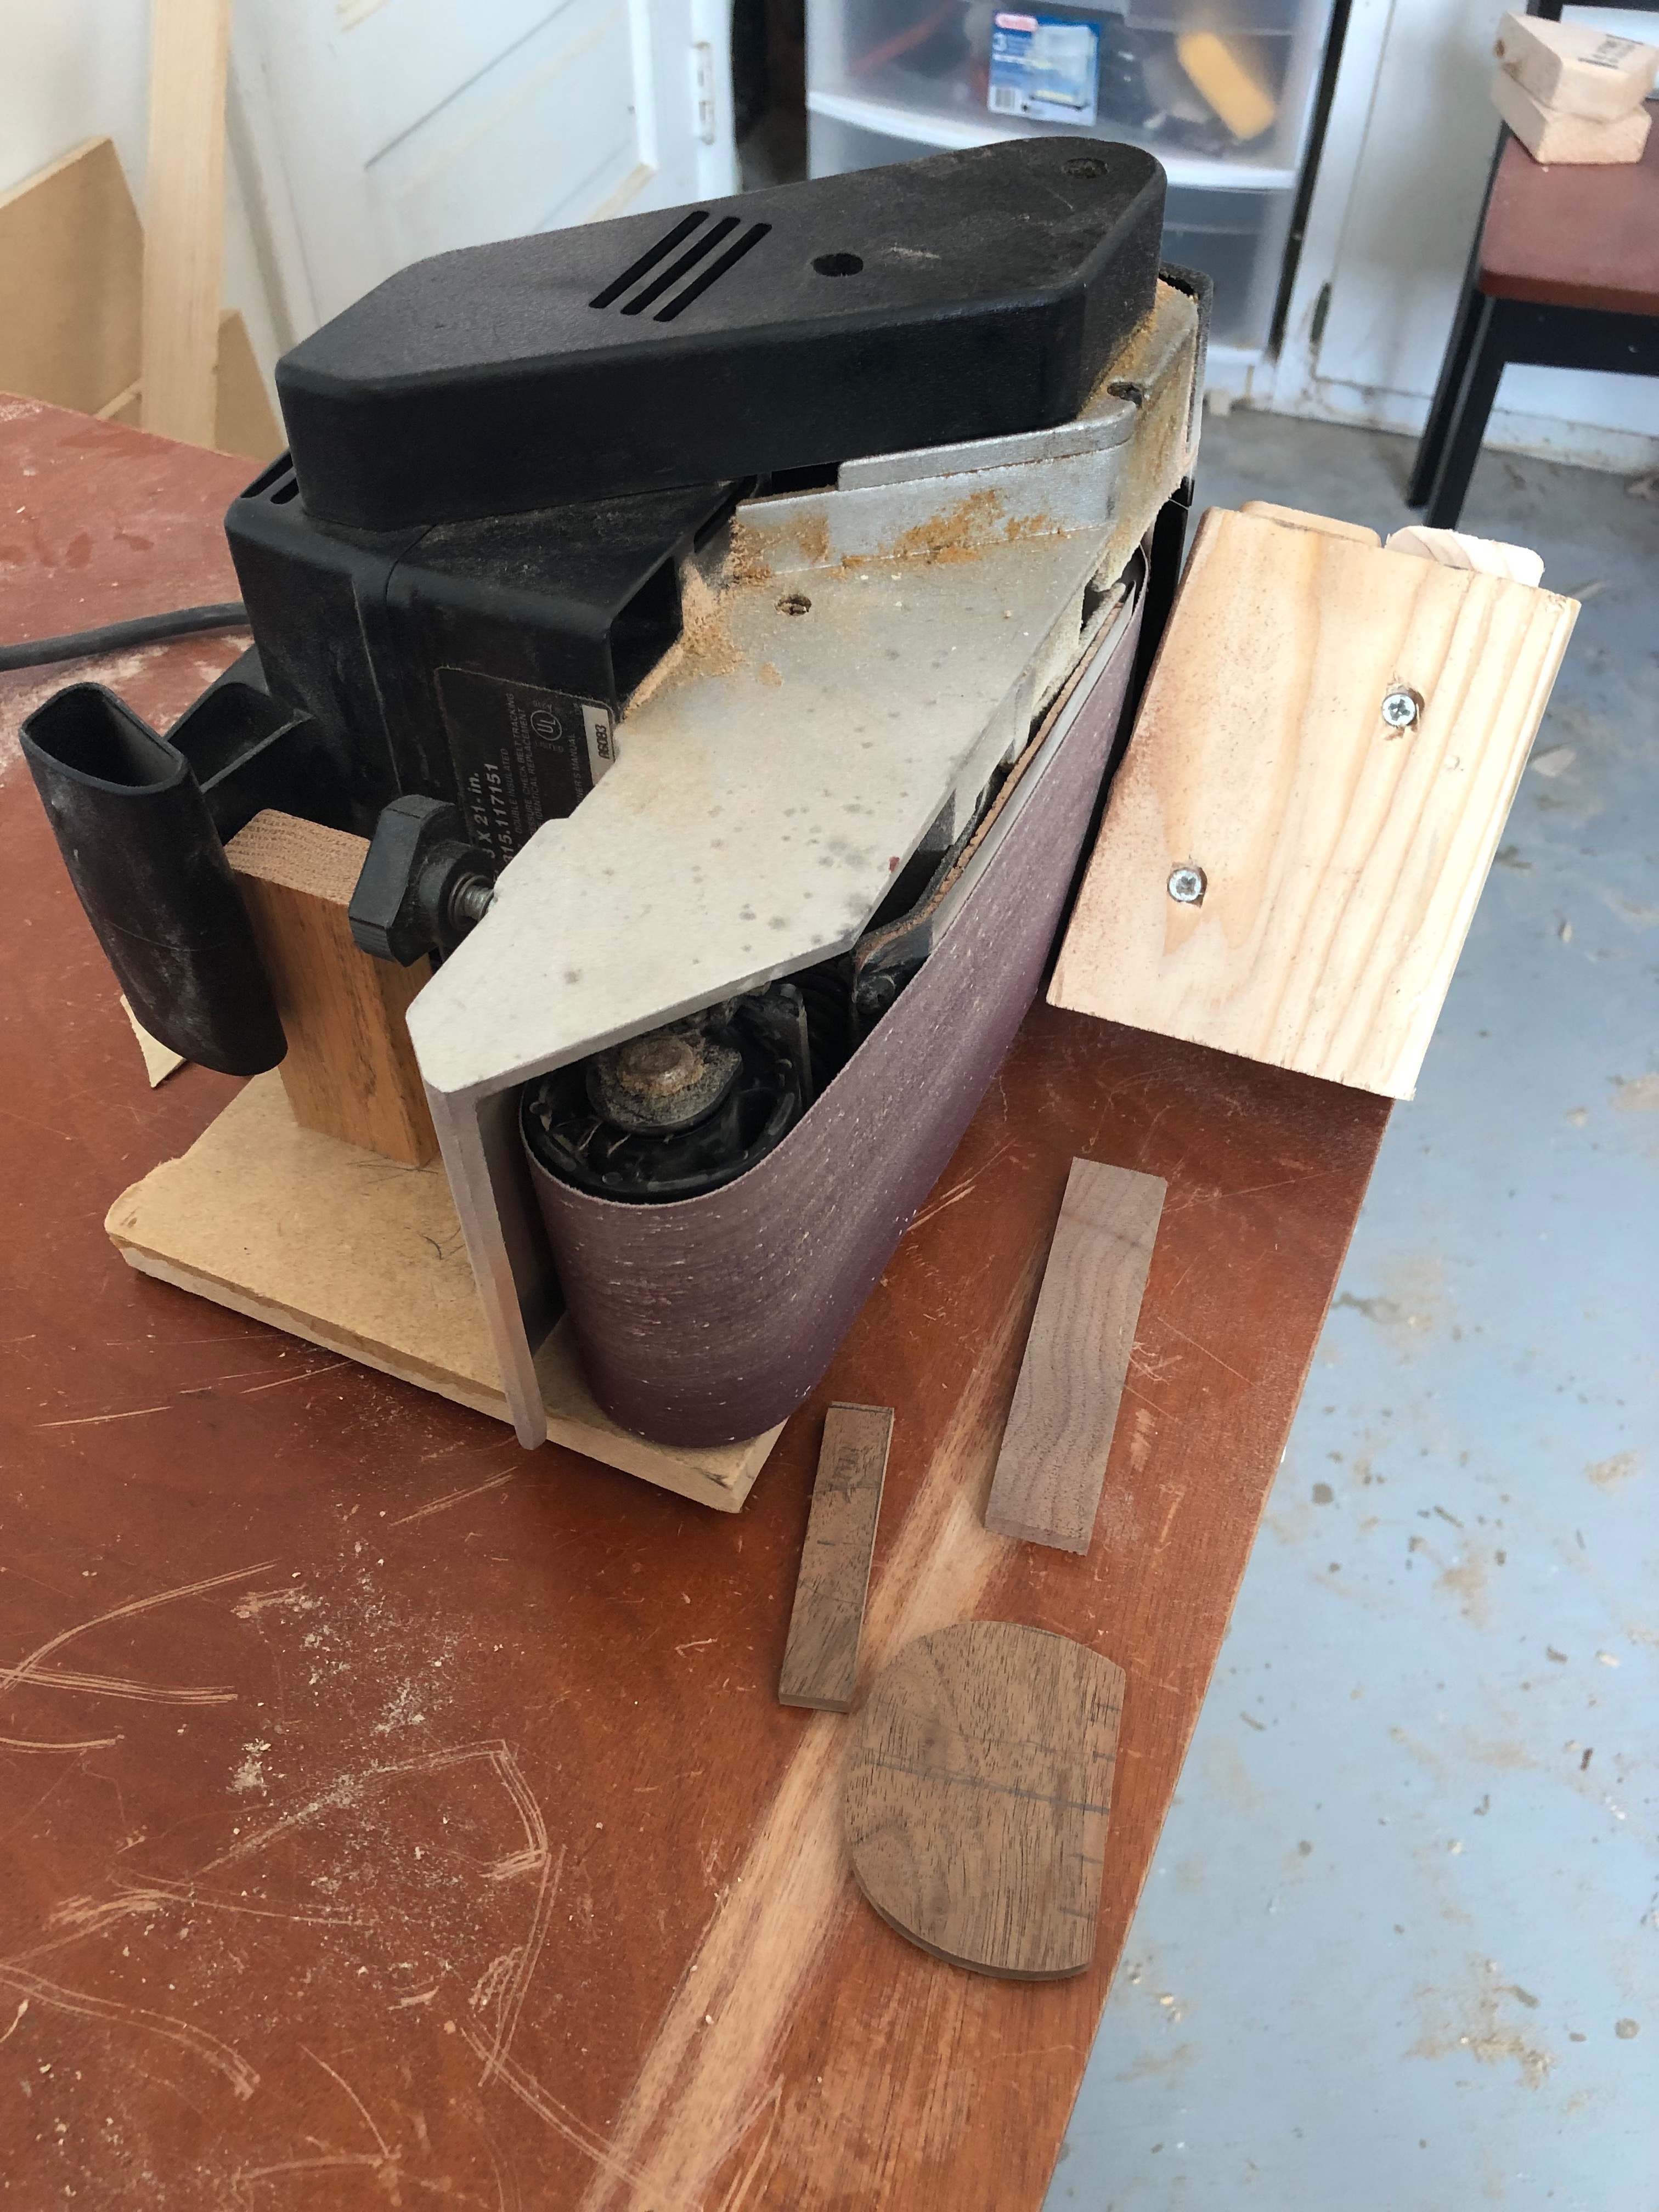
- Power sander: I rigged up an old belt sander to work as a bench sander. It made a huge difference and was pretty easy to do. You just need to attach some scrap pieces to a larger board so you can clamp it down. Then I shoved a wedge-shaped piece of scrap into the handle to hold in on. In the future, I’ll get a foot pedal. An oscillating sander can help, too, but not until pretty far into the project.
Hand tools
- Clamps: You need so many clamps to glue up the neck. Get a set of at least four bar clamps. The cheapest ones at the store will be fine. They need to be able to screw down tight, so not the “clip” kind, though those are helpful for other things if you have them.
- Coping saw: This will help in cutting the peghead and (hopefully) taking the waste out of the inside of the rim rings. I’ve used a spindle sander for this in the past, but those are not as easy to come by.
- Hand saw or small files: These will help in various spots, but especially when it’s time to cut string slots in the bridge and nut.
- Chisel: Go for one that’s at least one that is wide-ish. A half inch or so would probably be most useful. Having two is more useful. My 3/4 has come in handy, but now I have a 1/4 inch one that I thing will also be super useful on future builds, too.
- Files and rasps: These make a difference with shaping.
- Peg reamer: This is for tapering the holes so that the pegs fit. It’s the only banjo-specific tool here and, I can say from experience, that the one from Stew-Mac is worth the money when compared to cheap ones on Amazon.
- Sharpening stone: You can probably get through a job without this, but it’s how you sharpen a chisel and hand plane in the future. There are lots of kinds. They all work. Eventually, if you continue with hand tools, you would want a fine and course grit stone (you can get one with two sides), a leather “strop,” and some polishing compound.
Tools or materials, not sure
- Eye, ear, and respiratory protection: Goggles and ear plugs (for power tools) are a must. So are dust masks (like N95s), especially with certain types of woods that can mess with your lungs.
- Sandpaper: You’ll be sanding forever. Get a box of quality paper in a range of grits up to 400 or so. I’ve bought the cheap stuff. It doesn’t work well.
- Painter’s tape: This is the blue stuff. You’ll be using it to glue up the block rim. The 1 inch thick version is fine.
- Wood glue: Titebond is the standard. You’ll probably want more than the small bottle. The one that looks like a restaurant ketchup bottle is enough.
- Finish: I’ve used Birchwood Casey’s Tru-Oil, which is a gunstock finish. As advertised, it’s easy and idiot-proof. It’s also tough, which is good for something that you handle (like a banjo or gun stock)
- Latex gloves: Get a pack to use for putting the finish on the instrument.
- Paste wax: Johnson’s Floor Wax does the trick. It just smells terrible for a while.
- Tack cloth: This is to apply finish, but you can also use an old t-shirt. Just cut it up into squares.
- Steel wool: 0000, which is very fine, will help with the final few bouts of sanding and finishing.
Materials
- Wood: Using two different kinds works well: one for the instrument itself and a second (very hard) wood for things like the fingerboard, peghead, tailpiece, and any contrasting decorations. I’ll come back to this below.
- Skin for the head: Elderly Instruments sells calf and goat skin heads. Get one that’s a good deal bigger than your planned hoop so that you have something to grab on to when gluing and tacking. The thin goat skin has worked well for me. Jeff Menzies prepares and sells his own down in Jamaica. They’re more (usually $50 or so), but they look great. I’ve heard that they work beautifully, too, but I haven’t tried them (yet).
- Tacks: Upholstery tacks work well. They should be pretty heavy duty, have broad heads, and look good. Brass looks nice on wood, but that’s a taste thing.
- Pegs: Violin pegs work well. I’ve just ordered cheap sets from Amazon. Be sure that they are tapered and not “blanks,” though. And remember that you need five, so two sets. Strings: Aquila Nylgut nylon strings work well for this kind of instrument. I’ve used the red series, the regular nylon, and the minstrel set. The reds have a texture to them that feels really nice, but it’s preference. Using the minstrel set will put your banjo about a fourth below standard tuning.
- Scrap wood: You’ll need some for the nut (hard maple works well, or you could use scrap from the fingerboard), bridge, tailpiece, and heel cap (if you want one). Fingerboard scraps look good for the tailpiece and heel cap. You could also use them for the nut, if they’re good and hard. 1/4” thick would do well. For the bridge, pine works for nylon strings, but maple is more common. It’s also common to cap maple with something harder. (Maybe more fingerboard scrap?)
- Fishing line: There are a few ways to connect a tail piece to the dowel. Thick (heavy gauge) fishing line is one of them.
- Gig bag: Obviously, this is optional, but you can get one for $30 or $40 on Amazon.
Some optional details
- Wood or synthetic veneers: These give that pinstripe look between different types of wood. LMII sells them. Putting them around a “stripe” of the wood you use for a fingerboard gives strength and some good detail. You can see it in the photo below.
- Stain: Some people like the look of a stained head. Check out Romero Banjos for some beautiful examples. I used a gel stain from General Finishes when doing this. You can also stain the wood, but that’s less common.
- Brass position markers: You can see these in the photo of the back of the neck on the cherry banjo here. They are just holes drilled into the neck at various fret locations and filled with small pieces of a brass rod. OnlineMetals.com sells, well, metals online. They have a warehouse in nearby Toledo (among others) where you can pick up an order. They also ship.
- Flush frets and frets: Installing frets involves some extra steps and tools. There are plenty of videos on how to do it, but the main thing is that you need to keep an eye on when you complete each step so that you can ensure parallel lines and even frets. This build is fretless.